Transform Your Space: A Comprehensive Guide to DIY Home Improvement Projects
Embarking on DIY home improvement projects can be an incredibly rewarding experience. Not only does it allow you to tailor your living space to your personal taste, but it also provides a sense of accomplishment. Whether you’re a seasoned DIY enthusiast or a beginner looking to enhance your skills, this comprehensive guide will walk you through some inspiring and manageable projects that can transform your home.
1. Revamp Your Walls with Fresh Paint
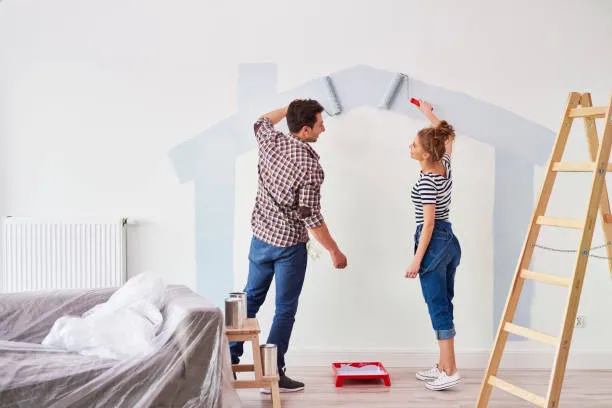
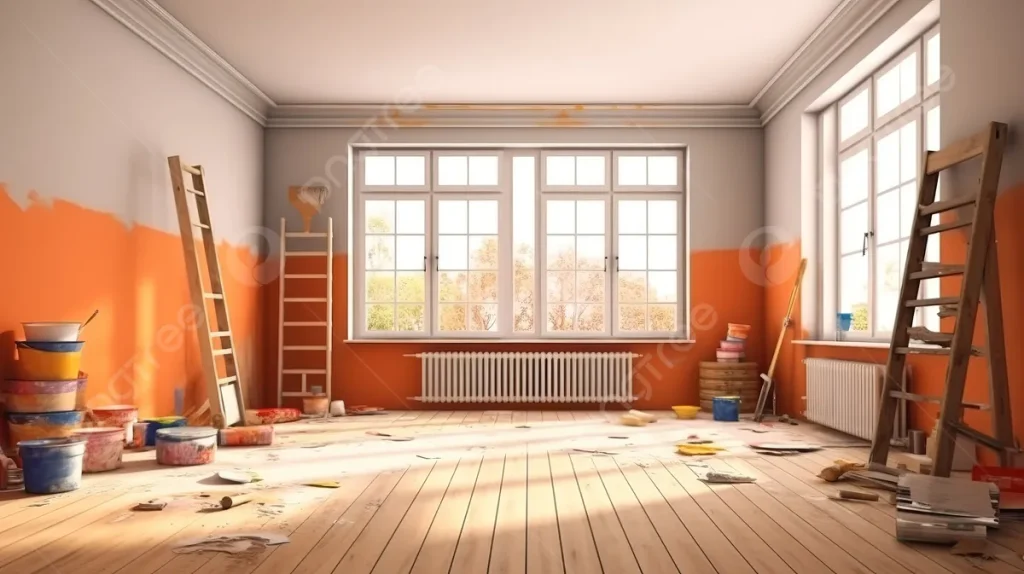
One of the most impactful yet straightforward DIY projects is painting your walls. A fresh coat of paint can dramatically change the ambiance of a room. Here’s how to get started:
Materials Needed:
- Paint (your choice of color)
- Paintbrushes and rollers
- Painter’s tape
- Drop cloths
- Paint tray
- Sandpaper
- Primer (if necessary)
Steps:
- Prep the Room: Remove furniture or cover it with drop cloths. Use painter’s tape to protect trim, windows, and doors.
- Prepare the Walls: Fill any holes or cracks with spackle and sand smooth. Clean the walls to remove dust and grime.
- Prime the Walls: If you’re painting over a dark color or covering stains, apply a coat of primer.
- Paint: Start with the edges using a brush, then use a roller for larger areas. Apply two coats for the best coverage, allowing the paint to dry between coats.
- Clean Up: Remove the painter’s tape before the paint fully dries to avoid peeling. Clean your brushes and rollers for future use.
2. Upgrade Your Kitchen Cabinets
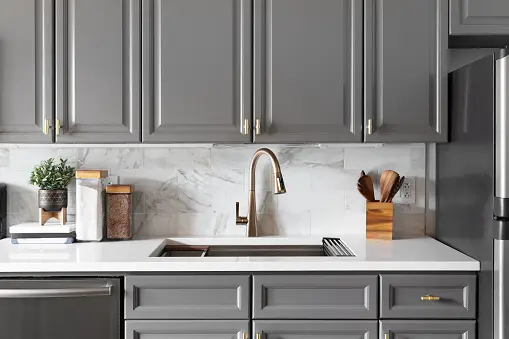
Updating your kitchen cabinets can breathe new life into your cooking space. This project can range from simple painting to more advanced refacing.
Materials Needed:
- Paint or stain
- Sandpaper
- Primer
- Screwdriver
- New hardware (knobs, handles)
- Wood filler (if needed)
- Paintbrushes and rollers
Steps:
- Remove Cabinet Doors and Hardware: Use a screwdriver to remove the doors and all hardware.
- Prep the Surface: Clean the cabinets thoroughly, sand them to remove the old finish, and fill any imperfections with wood filler.
- Prime and Paint/Stain: Apply primer first, then paint or stain the cabinets in your desired color. Allow each coat to dry completely.
- Reattach Doors and Hardware: Once the paint is dry, reattach the doors and install new hardware to complete the look.
3. Create a Statement Wall with Wallpaper
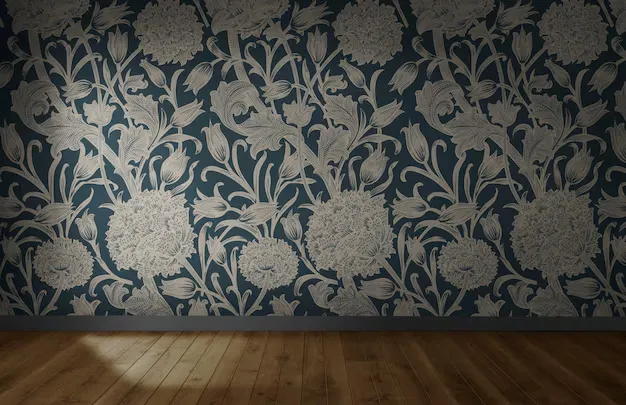
Adding wallpaper to one wall can create a focal point in any room. This project is perfect for those looking to add a touch of personality to their space.
Materials Needed:
- Wallpaper
- Wallpaper adhesive (if not pre-pasted)
- Utility knife
- Wallpaper smoother
- Tape measure
- Level
Steps:
- Measure and Cut: Measure your wall and cut the wallpaper panels accordingly.
- Prepare the Wall: Ensure the wall is smooth and clean. Apply primer if necessary.
- Apply Wallpaper: Start at one end of the wall. Align the first panel with a level to ensure it’s straight. Smooth out air bubbles with a wallpaper smoother.
- Trim Excess: Use a utility knife to trim excess wallpaper at the edges.
- Repeat: Continue applying panels, matching the pattern as you go.
4. Install Floating Shelves
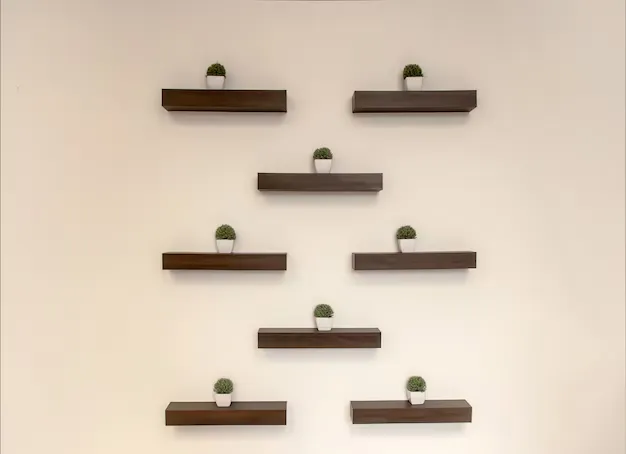
Floating shelves add both function and style to any room, providing storage and display space without taking up floor area.
Materials Needed:
- Floating shelf kit
- Drill
- Level
- Screws and anchors
- Stud finder
Steps:
- Choose Location: Decide where you want the shelves and mark the positions.
- Find Studs: Use a stud finder to locate studs in the wall.
- Install Brackets: Drill holes and install the brackets using screws and anchors. Ensure they are level.
- Attach Shelves: Slide the shelves onto the brackets and secure them according to the manufacturer’s instructions.
5. Enhance Lighting with New Fixtures
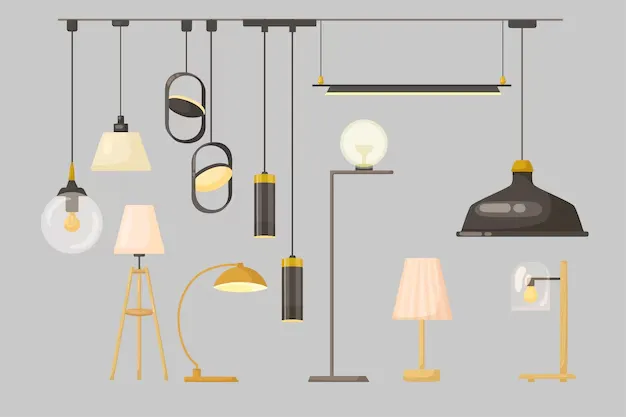
Updating light fixtures can dramatically improve the look and feel of a room. It’s a relatively easy project that can make a big difference.
Materials Needed:
- New light fixture
- Screwdriver
- Wire connectors
- Voltage tester
Steps:
- Turn Off Power: Always turn off the power at the circuit breaker before working with electrical fixtures.
- Remove Old Fixture: Carefully remove the existing light fixture.
- Install New Fixture: Follow the manufacturer’s instructions to install the new fixture. Use wire connectors to join wires securely.
- Secure Fixture: Attach the new fixture to the ceiling or wall and secure it in place.
- Turn On Power: Turn the power back on and test your new light.
Conclusion
DIY home improvement projects can transform your living space and provide a sense of accomplishment. From painting walls to installing new light fixtures, these projects range from simple to more advanced, catering to different skill levels. With a little effort and creativity, you can make your home a reflection of your personal style while adding value and functionality. So, gather your tools and materials, and get started on your next DIY adventure!
FAQ’s
1. What are some easy DIY home improvement projects for beginners?
Some easy projects for beginners include painting walls, installing floating shelves, updating cabinet hardware, and replacing light fixtures. These projects typically require basic tools and skills.
2. Do I need special tools for DIY home improvement projects?
Many DIY projects can be completed with basic tools such as a drill, screwdriver, utility knife, tape measure, and level. For more advanced projects, you might need additional tools, which can often be rented from hardware stores.
3. How do I choose the right paint for my walls?
Choose paint based on the room’s purpose and lighting. For high-traffic areas, consider a durable, washable paint. Matte finishes hide imperfections, while satin and semi-gloss finishes are more durable and easier to clean.
4. What should I consider when updating kitchen cabinets?
Consider the condition of your cabinets, your budget, and your desired look. You can choose to paint, stain, or reface your cabinets. New hardware can also make a significant impact on the overall appearance.
5. Is it difficult to install wallpaper?
Installing wallpaper can be straightforward with careful planning and patience. Make sure to measure accurately, apply wallpaper smoothly to avoid bubbles, and align patterns correctly for a professional finish.
6. What are floating shelves, and how do I install them?
Floating shelves are wall-mounted shelves with hidden brackets, creating a “floating” effect. To install, find studs in the wall, secure brackets, and attach the shelves. Ensure the shelves are level for proper installation.
7. How can I safely update light fixtures?
Always turn off power at the circuit breaker before working with electrical fixtures. Follow the manufacturer’s instructions carefully, use wire connectors for secure connections, and ensure the fixture is properly mounted.
